2.


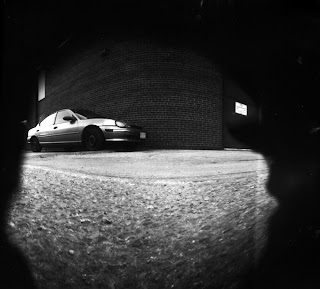
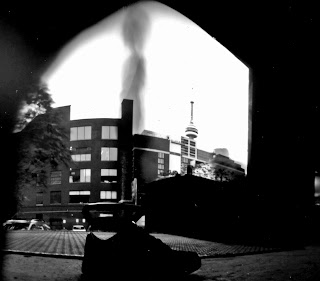
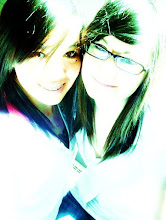
These three picture above are (in my opinion) my best three pinhole pictures that I have taken. On October 21st, my CyberArts classmates and I went on a field trip downtown to experience what is called Pinhole Photography. We were able to learn about pinhole photography and then make our own cameras, take some pictures and develop them ourselves. We worked and studied in a large gallery downtown, there were many rooms inside but we were in Gallery 44. We were asked to bring in a tin can of any kind as long as it includes a lid. How to make one? I'll explain, First we take our tin cans and to start off we made a mark so our hole wouldn't be too big. With a small drill nail we drilled in the small hole, then after we drilled in the bigger hole. It wasn't that big. Second we took aluminum foil cut out a circle and placed it over the hole. Before we placed it over the big hole we took a thumbtack and made an even SMALLER hole and then covered it. With black electrical tape we taped it around the aluminum foil. For that tiny hole we placed another piece of electrical tape over it so no light wouldn't enter into our tin cans. For the lid it really depends on what kind of lid you had. For plastic lids, you would take a large piece of aluminum foil and covered the whole top and then placed the lid over it. For me I had a large tin lid so all I needed to do was wrap the rim with the lid on with some electrical tape, but before we put the placed the lid on we were to cut the photography paper to fit the size of our cans and place the shiny side facing the hole. Then we placed the lid on.
How it works? Select a place on the ground and put your can down. Remember that tape we had over our little hole? Remove that piece of tape carefully, and let it stand for about a minute to a minute and a half. During the duration the light outside is being transfered into your paper which you have inside the dark tine can. It's really cool!
Once the time has finished place the tape over your hole again and you are ready to develop your picture!
Our instructor for the day was William Mokrynski, working with him was simple. Getting to know how pinhole photography works was awsome but making one ourselves was even more awsome! The whole pinhole photography thing was knew to me so everything was extremely exciting. If anything here is our instructors website to check out his work and maybe some examples of pinhole photography!
Here is the link!
on this website you will find many intresting things on pinhole photography, and there will be many recent updates. There are also several different/beautiful pinhole pictures for you to look at! :)


No comments:
Post a Comment